Showing posts with label Card. Show all posts

Friday, June 1, 2012

Glitter Greeting Card


I made this beautiful glittery card during a crop hosted by Dana Edwards. Her blog is: http://blog.artsoulandscissors.com/. You cut various shapes out of double sided tape with a peel and arrange them on a card. You determine what shapes you want in which colors. You start with the shape that you want to color with the darkest glitter and you take the peel off the tape of only that item and pour glitter on the card. This way, the other elements are protected. You continue this method until all of the shapes are colored to your liking. 
Here is a close up of that gorgeous sparkle!
Love,
Tashina

Thursday, May 31, 2012

Russian Matryoshka Doll Card

Here is the Mother's Day card that I made for my stepmom. I think it turned out really cute. 
I printed the background paper with the little Russian dolls from my Cricut Imagine All Wrapped Up cartridge. I also used a card shape from this cartridge, but instead of printing it, cut it out yellow paper. 
Here's a peek from the side. It's popped up using foam dots: 
I love this signature stamp from Hero Arts: 
Stamps List: Hero Arts, Fawn Lawn, Paper Trey Ink, Dear Lizzy (American Crafts) 


Love,
Tashina

Friday, May 4, 2012

Mother's Day Cricut Card

I made this card for my mom for Mother's Day! I love the spring pastel colors!


This lovely little lady is from the Cricut Sweethearts Cardtridge. I added some lavender colored brads to the wheels to add some extra dimension. 
I used embroidery floss in coordinating colors and tied a bow at the top. It's a good alternative to twine. 
 The sentiment is from Papertrey Ink and I used Stampin' Up Ink:

Love,
Tashina

Thursday, March 1, 2012

Jinger Adams Design Team Call

One of my favorite crafting celebrities, Jinger Adams is hosting a design team call and she will also be launching a shoe line! Ooh...I can't wait! She has such great style and I was even able to meet her in person! She was just as kind and lovely in real life as she is on television:
Here she is holding the layout I submitted that was shown on HSN during one of her tv segments: 
She has such a bubbly personality and is very talented. I really enjoyed reading her columns in the Cricut Magazine. I am excited to see what new ventures she has that will impact the scrapbooking world!


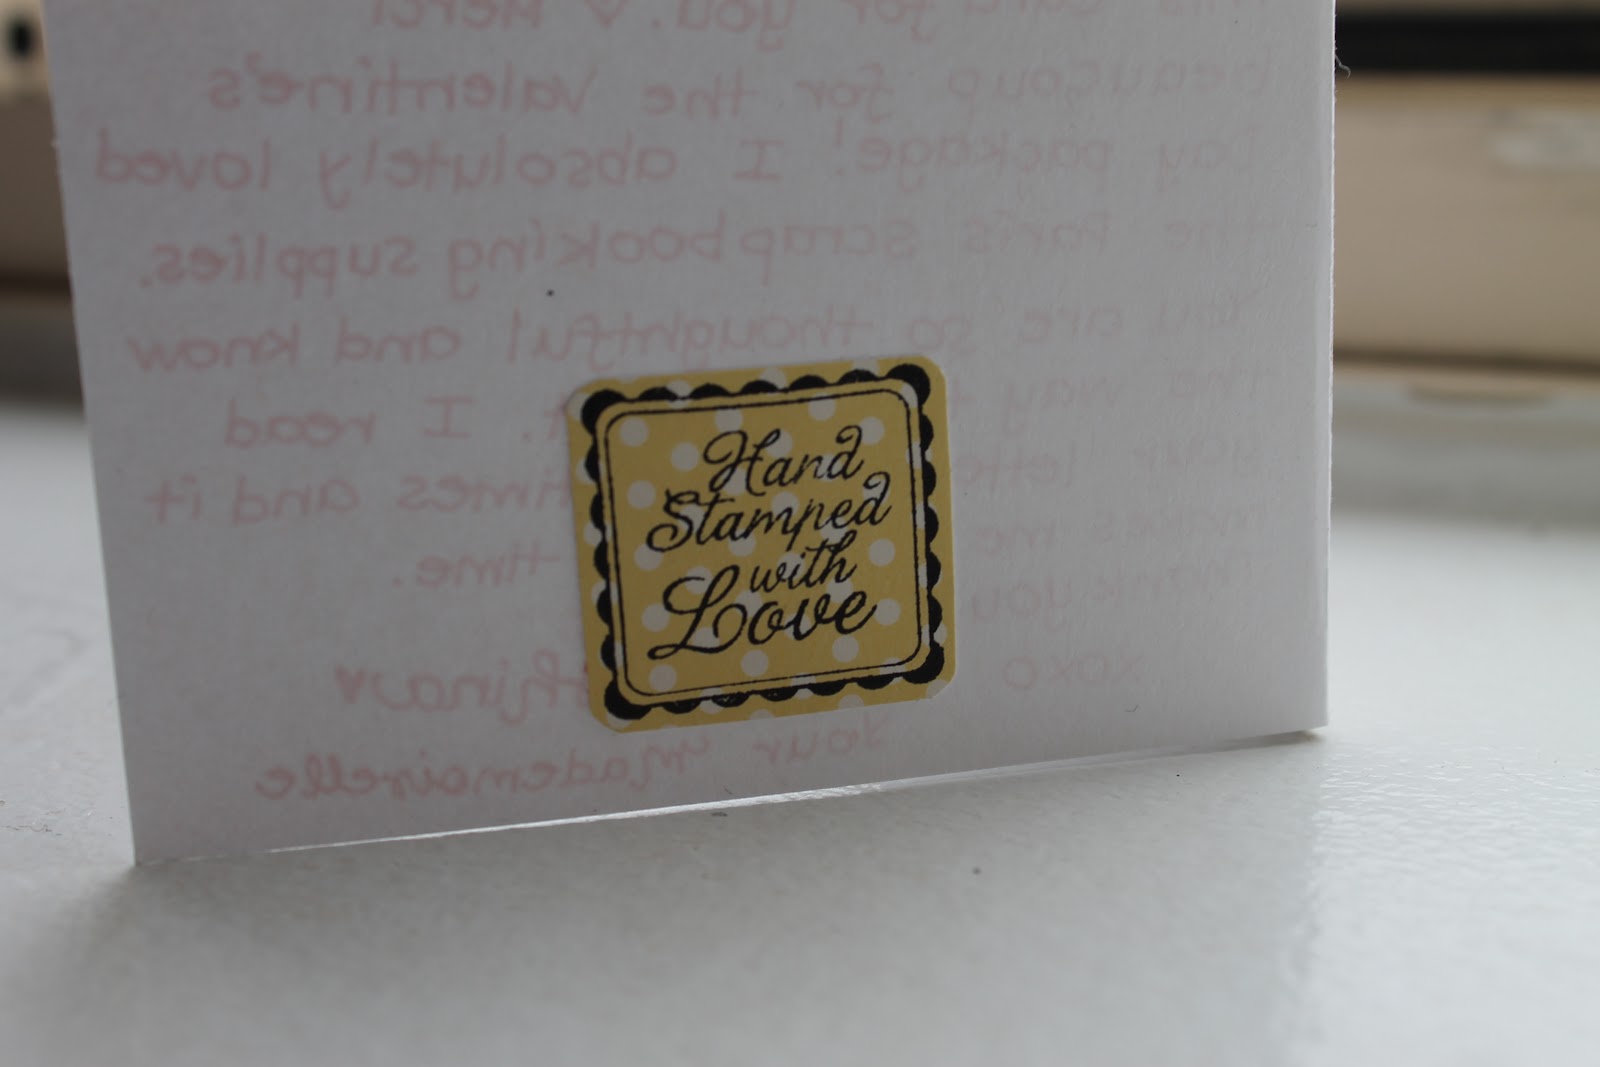
I love to scrapbook my travels from around the world. I just returned from Paris and a cute boy sent me a package of Paris themed scrapbooking supplies in the mail! Swoon. (He also happens to speak French fluently). :) So of course I had to make a thank you card to send to him in the mail. I thought I would try my luck at Jinger's Design Team contest with this card submission. I think it would be amazing to work with her and to design with her products! What a dream!


The package of supplies that was waiting for me after my trip. I'm such a lucky girl!:


The background paper is from Teresa Collins:
The Eiffel Tower was cut from the Summer in Paris Cartridge:
 I used the Storybook Cartridge for the mat:
Cute stamp from Hero Arts: 
I ran my white cardstock through my special edition pink Cuttlebug that I learned Jinger designed. No wonder I liked it so much! 
And no blog post about Paris would be complete without a picture of the Eiffel Tower. <3
Love,
Tashina

Thursday, September 1, 2011

Doodlebug Birthday Cards

Good morning! I wanted to share a couple of cards with you that I made from the Doodlebug Design-Paper Crafts Go to Sketches- Card Companion Kit. I picked up this kit at Hobby Lobby and made 18 cards really quickly. There are pictures of all of the cards you make and the papers and brads are all very high quality. This is what the kit looks like:
Here are two of my favorite cards that I made. I switched up the design on the second card from the sample just a bit. 

Super cute and super easy! I was able to replenish my card supply in an evening after making all of the cards. I like to keep cards on hand for when special occasions arise.

Love,
Sheenie

Friday, August 26, 2011

Project 2: You Brighten My Day Doodlebug Card

I have another Doodlebug design team submission for you this morning using the Doodlebug Create-A-Card and Tutti Frutti lines. Here is a view of the entire project:  
Here's a close up of the card front. I just love the glittery strawberry and baby blue bird! I also thought the twine bow added a delicate touch: 
Here is a view of the inside of the card! Everything sparkles in the sun with glitter. :)
I lined the inside of the envelope with that gorgeous strawberry print paper: 
A view of the envelope seal: 
I added a tiny mushroom sticker to the front of the envelope: 
One last view of the project: 
Have a wonderful weekend! I am praying for the families on the east coast with all of the scary weather you are experiencing. 

Love,
Sheenie

Tuesday, August 23, 2011

Project 1: Doodlebug Christmas Card

Hi friends! The application for the first ever Doodlebug design team is due in a week and I've been busy working on my projects. We have to submit two cards, a layout and a three-dimensional project. I may or may not have stayed up until 4:30am on Saturday night watching back to back episodes of 24 on Netflix while crafting away completely oblivious to the time.... Oopsie. Anyway--here is my first project! I hope that you enjoy it!

Here is a view of the front of the card. I love this striped Doodlebug paper. It reminds me of a candy cane! I cut a thin strip to look like a ribbon, and used a circle punch to make a circle slightly larger than the Santa sticker: 
I lined the envelope with the playful candy cane paper to match: 
Doodlebug came out with this fantastic create-a-card concept. There is an assortment of cards and envelopes in all shapes and colors that you can mix and match. What a novel idea! I picked up a gorgeous tri-folding raspberry colored card and matching envelope at my local scrapbooking store. The cards are displayed like this:  
Here is a view of the first fold of the card:
I lined the inside of the card. I love the little gingerbread, stockings and cups of hot cocoa on the paper!
A close up of the middle of the card. The sparkly snowman is the cutest: 
I decorated the back of the envelope with snowflakes:
And the front of the card with a present: 
Here is one last view of the card. I used pop dots to add dimension to the Santa: 

Tuesday, August 16, 2011

Cricut Imagine Best Friends Cards

I recently bought a Cricut Imagine. I love it! I made these cards so quickly and easily using the Best Friends cartridge designed by Cosmo Cricket:
This one is for my mom. I thought the computer and phone were good for a "miss you" theme: 
I used pop dots for added dimension for the computer and phone:
Love,

Sheenie

Thursday, August 11, 2011

You're Fabulous! Bubble Bath Card

Here is a fun card for you. Perfect for a little note to a girlfriend! Inside it reads, "You're Fabulous!" I colored this little lady with acid free watercolor pencils and added diamond glaze and glitter to make sparkly bubbles. Ooh..
The background shapes were cut with the Cricut Storybook Cartridge. I used Cuttlebug folders to emboss the baby blue cardstock and buttons along the bottom. I added some Prima flowers with a white brad. The stamped girl in the tub and the background roses on the brown cardstock are from Stampin' Up!